[Salesforce] Apex Triggers - Get Started with Apex Triggers
2026, Apr 28
목차
Get Started with Apex Triggers
https://trailhead.salesforce.com/content/learn/modules/apex_triggers/apex_triggers_intro
Apex 트리거 작성하기
- Salesforce 레코드에 대한 삽입, 수정, 삭제와 같은 이벤트 전후에 사용자 지정 작업을 수행할 수 있음
- Salesforce 사용자 인터페이스로 수행할 수 없는 작업을 처리하려면 트리거 사용 (ex. 레코드의 필드 값 검증)
- 성능과 확장성이 중요할 때나 로직이 복잡할 때 사용하는 것이 좋음
Trigger Syntax
trigger TriggerName on ObjectName (trigger_events) {
   code_block
}
trigger_events부분에 사용 가능- before insert
- before update
- before delete
- after insert
- after update
- after delete
- after undelete
- Before triggers -> 데이터베이스 저장 전 수정하거나 검증할 때 사용
- After triggers
- 시스템에 의해 세팅된 값에 접근할 때(ex. Id, LastModifiedDate)
- 다른 레코드의 변경 사항에 영향을 미칠 때
- 읽기 전용으로 레코드 들고있음
Context 변수 사용하기
- 트리거를 실행시킨 레코드에 접근하려면 context 변수 필요함
Trigger.new-> insert/update 트리거에 의해 생성된 레코드Trigger.old-> update 트리거에 의해 수정된 sObject의 수정 전 내용- Bulk로도 처리 가능해서 여러 레코드를 포함하고 있을 수 있음
예시 코드
trigger ContextExampleTrigger on Account (before insert, after insert, after delete) {
    if (Trigger.isInsert) {
        if (Trigger.isBefore) {
            // Process before insert
        } else if (Trigger.isAfter) {
            // Process after insert
        }
    }
    else if (Trigger.isDelete) {
        // Process after delete
    }
}
- isExecuting
- isInsert
- isUpdate
- isDelete
- isBefore
- isAfter
- isUndelete
- new
- sObject 레코드들의 새 버전 내용 목록
- insert, update, undelete 사용 가능
- before 트리거일 때 레코드 수정 가능
- newMap
- sObject 레코드들의 ID와 새 버전 내용으로 Map 구성
- before update, after insert, after update, after undelete 사용 가능
- old
- sObject 레코드들의 구 버전 내용 목록
- update, delete 사용 가능
- oldMap
- sObject 레코드들의 ID와 구 버전 내용으로 Map 구성
- update, delete 사용 가능
- operationType
- BEFORE_INSERT, BEFORE_UPDATE, … 와 같은 ENUM 값
- size
- 트리거 호출 시 처리된 레코드 수
- 200개 이상의 코드를 포함한 DML 작업은 배치로 처리 (현재 배치에 포함된 레코드 수만 나옴)
트리거에서 클래스 메서드 호출하기
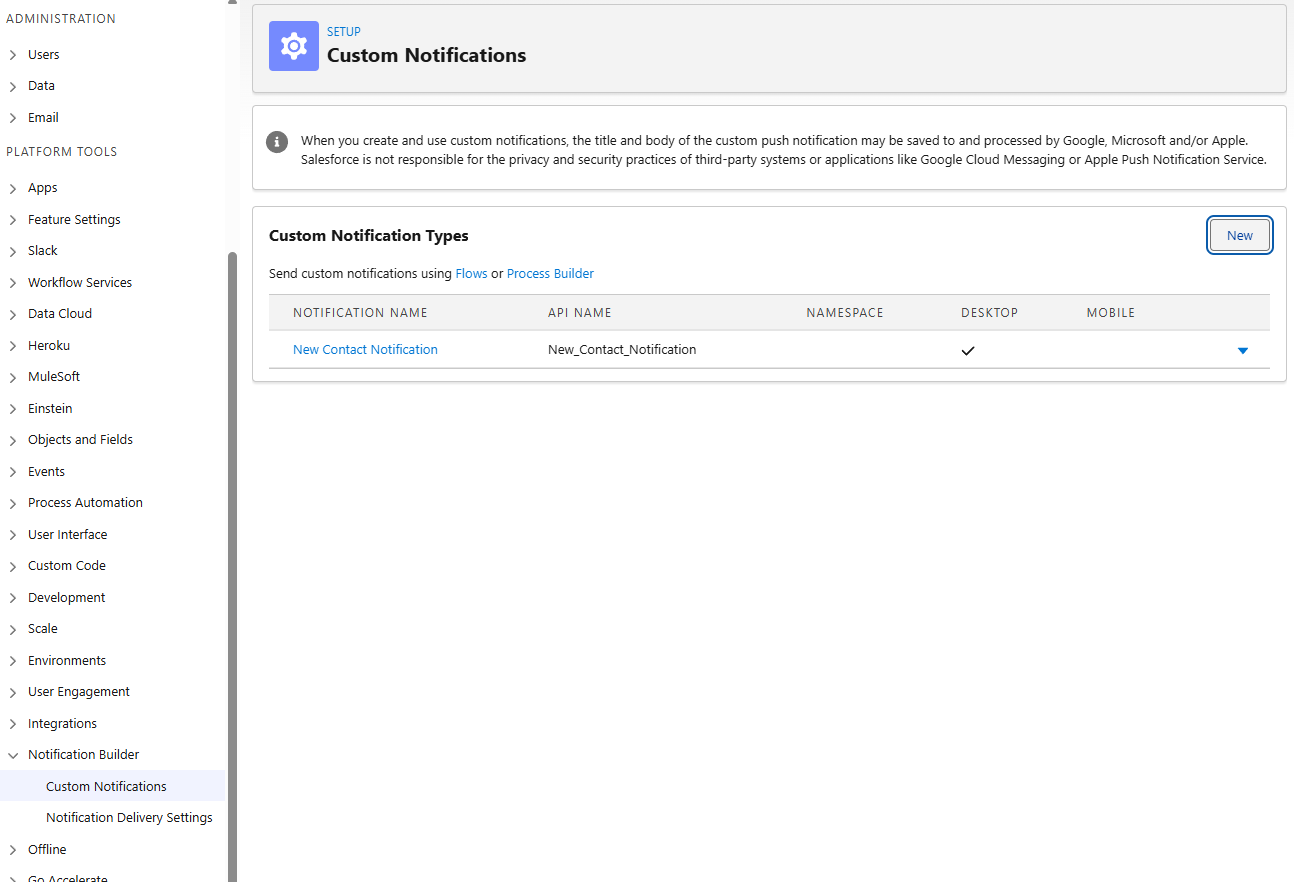
- Custom Notifications 생성
- 클래스 작성
public with sharing class CustomContactNotification { // Public method public static void notifyUsers(Set<String> recipientsIds, Integer recordCount) { // Get the ID for the custom notification type created in Setup CustomNotificationType notificationType = [SELECT Id, DeveloperName FROM CustomNotificationType WHERE DeveloperName='New_Contact_Notification']; // Create a new custom notification Messaging.CustomNotification notification = new Messaging.CustomNotification(); // Set the contents for the notification notification.setTitle('Trailhead Trigger Tutorial'); notification.setBody(recordCount + ' contact(s) were inserted.'); // Set the notification type and target notification.setNotificationTypeId(notificationType.Id); // '000000000000000AAA' is a dummy targetId value notification.setTargetId('000000000000000AAA'); // Send the notification try { notification.send(recipientsIds); System.debug('Custom notification sent successfully.'); } catch (Exception e) { System.debug('Problem sending notification: ' + e.getMessage()); } } } - 트리거 작성
trigger ContactNotificationTrigger on Contact (after insert, after delete) { if (Trigger.isInsert) { Integer recordCount = Trigger.new.size(); // Set the recipientIDs to the current user Set<String> recipientIDs = new Set<String>{UserInfo.getUserId()}; // Call a utility method from another class CustomContactNotification.notifyUsers(recipientIDs, recordCount); } else if (Trigger.isDelete) { // Process after delete } } - 실행
Contact c = new Contact(LastName='Test Contact');
insert c;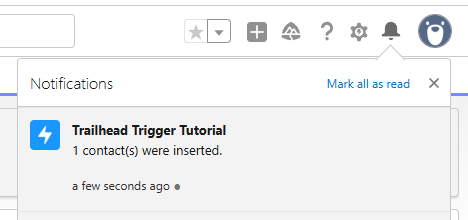
- 알림 온거 확인~
관련 레코드 추가하기
- 보통 트리거는 context에 있는 레코드와 관련된 레코드에 액세스하고 관리하는 데 주로 사용됨
예시 코드 (Account를 생성하고 관련된 Opportunity가 없으면 생성)
trigger AddRelatedRecord on Account(after insert, after update) {
    List<Opportunity> oppList = new List<Opportunity>();
    // Get the related opportunities for the accounts in this trigger
    Map<Id,Account> acctsWithOpps = new Map<Id,Account>(
        [SELECT Id,(SELECT Id FROM Opportunities) FROM Account WHERE Id IN :Trigger.new]);
    // Add an opportunity for each account if it doesn't already have one.
    // Iterate through each account.
    for(Account a : Trigger.new) {
        System.debug('acctsWithOpps.get(a.Id).Opportunities.size()=' + acctsWithOpps.get(a.Id).Opportunities.size());
        // Check if the account already has a related opportunity.
        if (acctsWithOpps.get(a.Id).Opportunities.size() == 0) {
            // If it doesn't, add a default opportunity
            oppList.add(new Opportunity(Name=a.Name + ' Opportunity',
                                       StageName='Prospecting',
                                       CloseDate=System.today().addMonths(1),
                                       AccountId=a.Id));
        }
    }
    if (oppList.size() > 0) {
        insert oppList;
    }
}
Trigger Exceptions 사용하기
addError()메서드를 사용하여 특정 조건에 충족하면 저장 불가하게 할 수 있음
예시 코드 (관련 레코드 존재할 때 삭제 방지)
- 트리거 작성
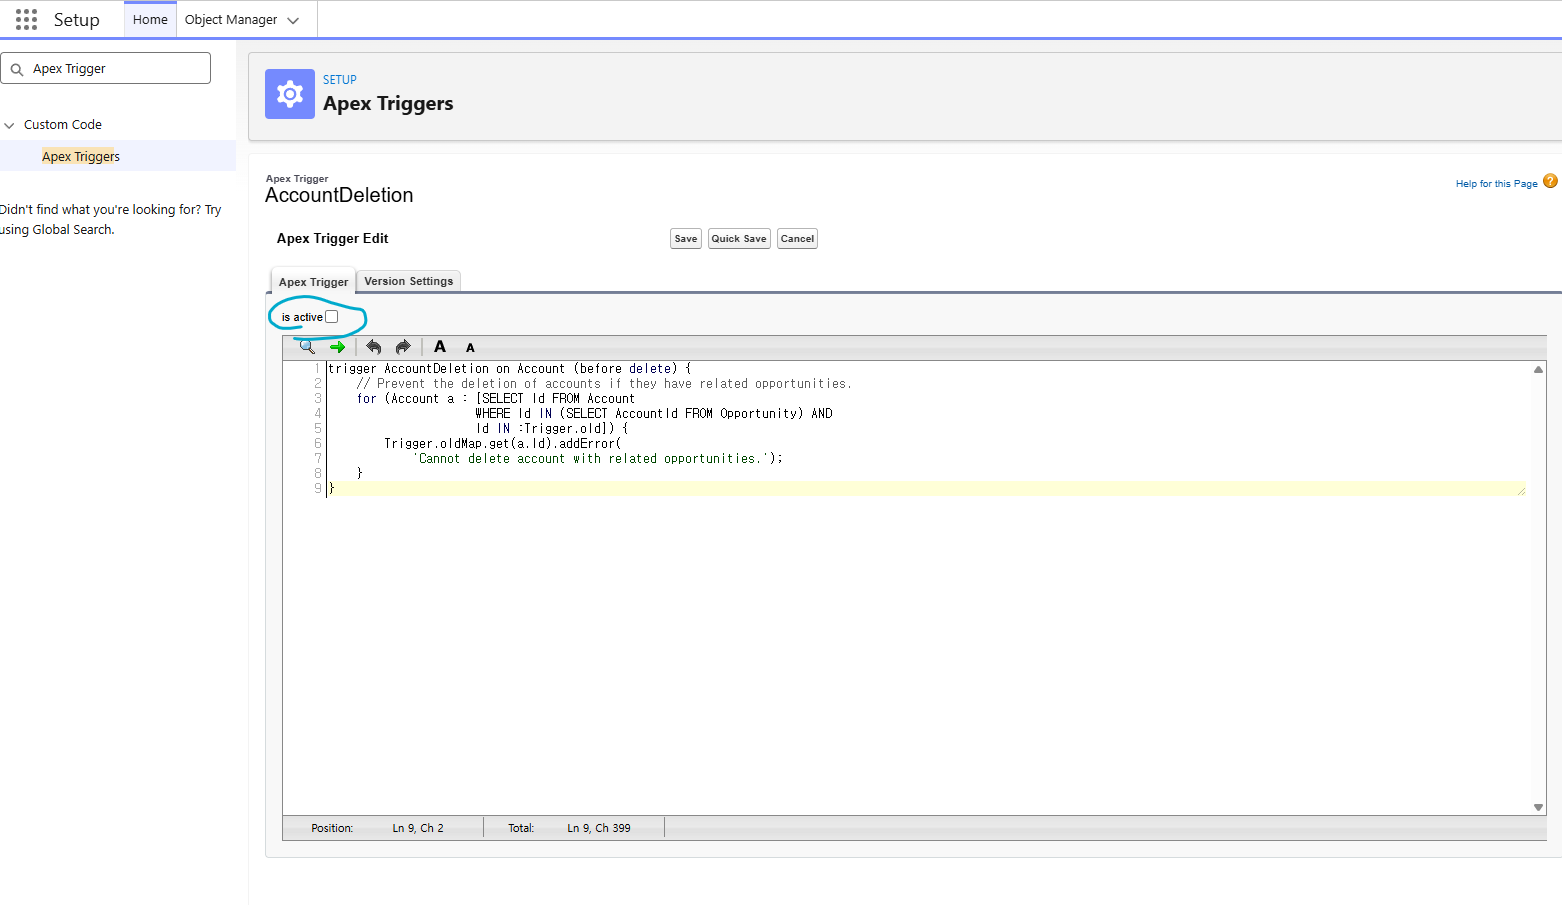
trigger AccountDeletion on Account (before delete) { // Prevent the deletion of accounts if they have related opportunities. for (Account a : [SELECT Id FROM Account WHERE Id IN (SELECT AccountId FROM Opportunity) AND Id IN :Trigger.old]) { Trigger.oldMap.get(a.Id).addError( 'Cannot delete account with related opportunities.'); } } - Salesforce user interface에서 Account 삭제
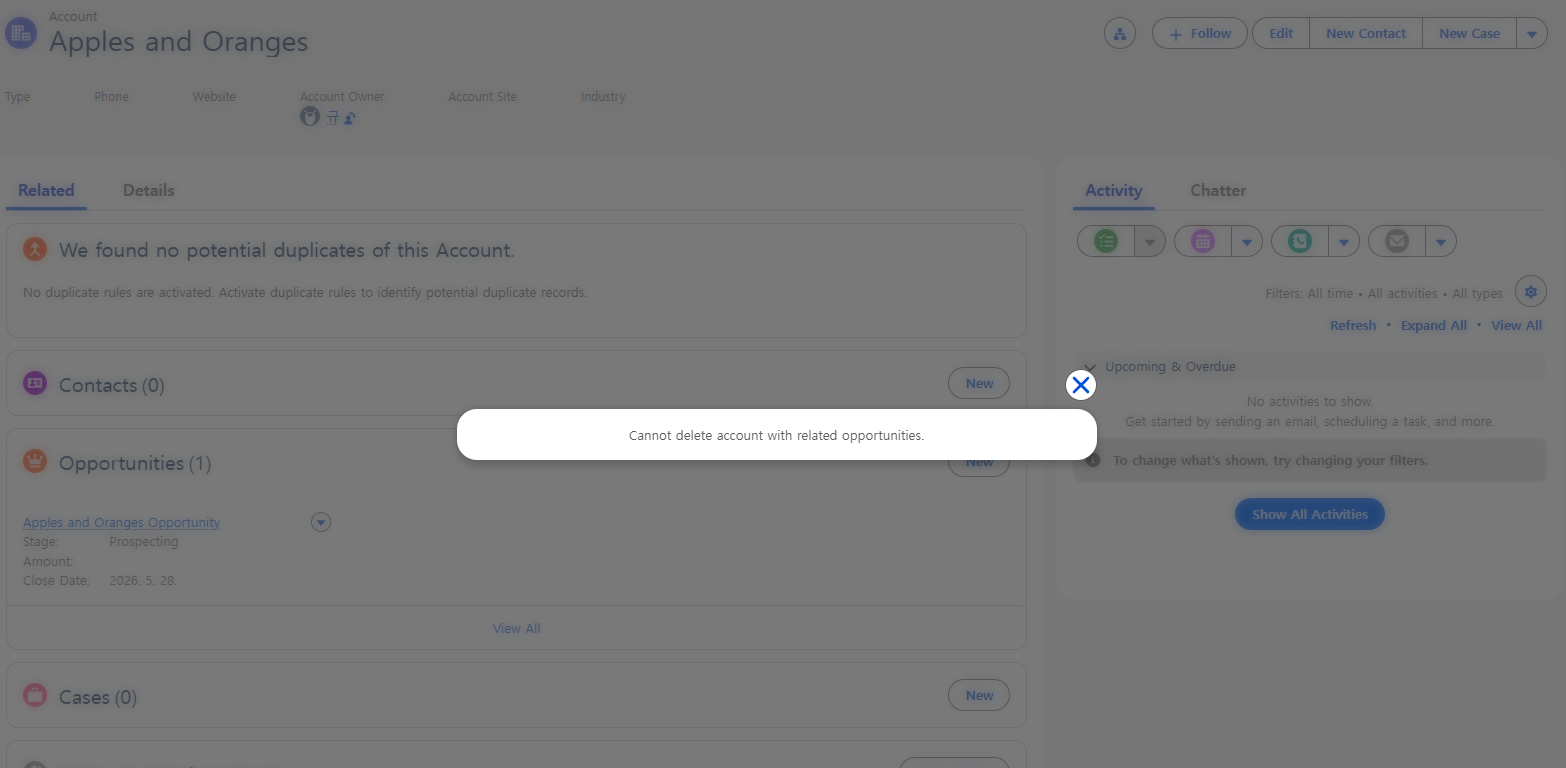
- 삭제 불가능 메시지 표시 확인~
- trigger disable 하려면 Setup - Apex Triggers에서 is active 체크해제 필요
Triggers and Callouts
- Apex를 사용하면 외부 웹 서비스를 호출해 Apex 코드와 통합할 수 있음
- ex. 주식 시세 서비스 콜아웃으로 최신 시세 가져오기
- 트리거에서 콜아웃을 수행할 때 외부 서비스의 응답을 기다리는 동안 비동기처리 필요
- 비동기 콜아웃은 백그라운드에서 실행되며, 외부 서비스에서 응답 반환되면 수신됨
@future(callout=true)어노테이션 사용
public class CalloutClass {
    @future(callout=true)
    public static void makeCallout() {
        HttpRequest request = new HttpRequest();
        // Set the endpoint URL.
        String endpoint = 'http://yourHost/yourService';
        request.setEndPoint(endpoint);
        // Set the HTTP verb to GET.
        request.setMethod('GET');
        // Send the HTTP request and get the response.
        HttpResponse response = new HTTP().send(request);
    }
}
Hands-on
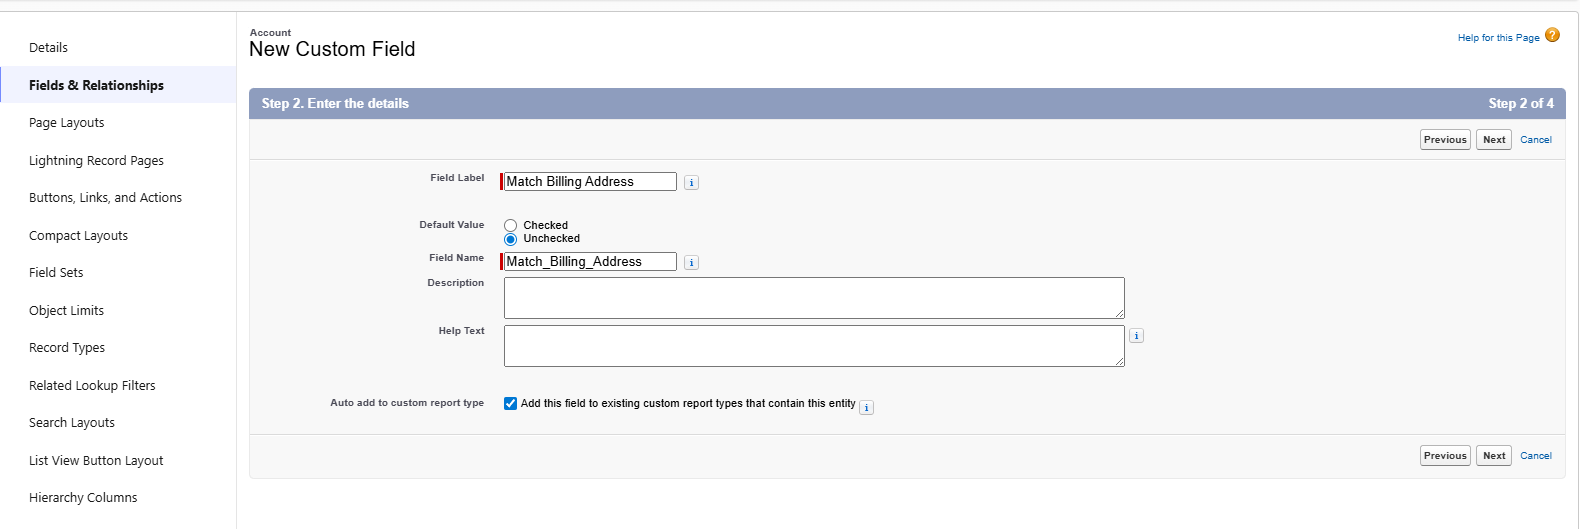
- Account의 Match Billing Address 옵션이 선택된 경우, Shipping Postal Code를 Billing Postal Code와 일치 시키기
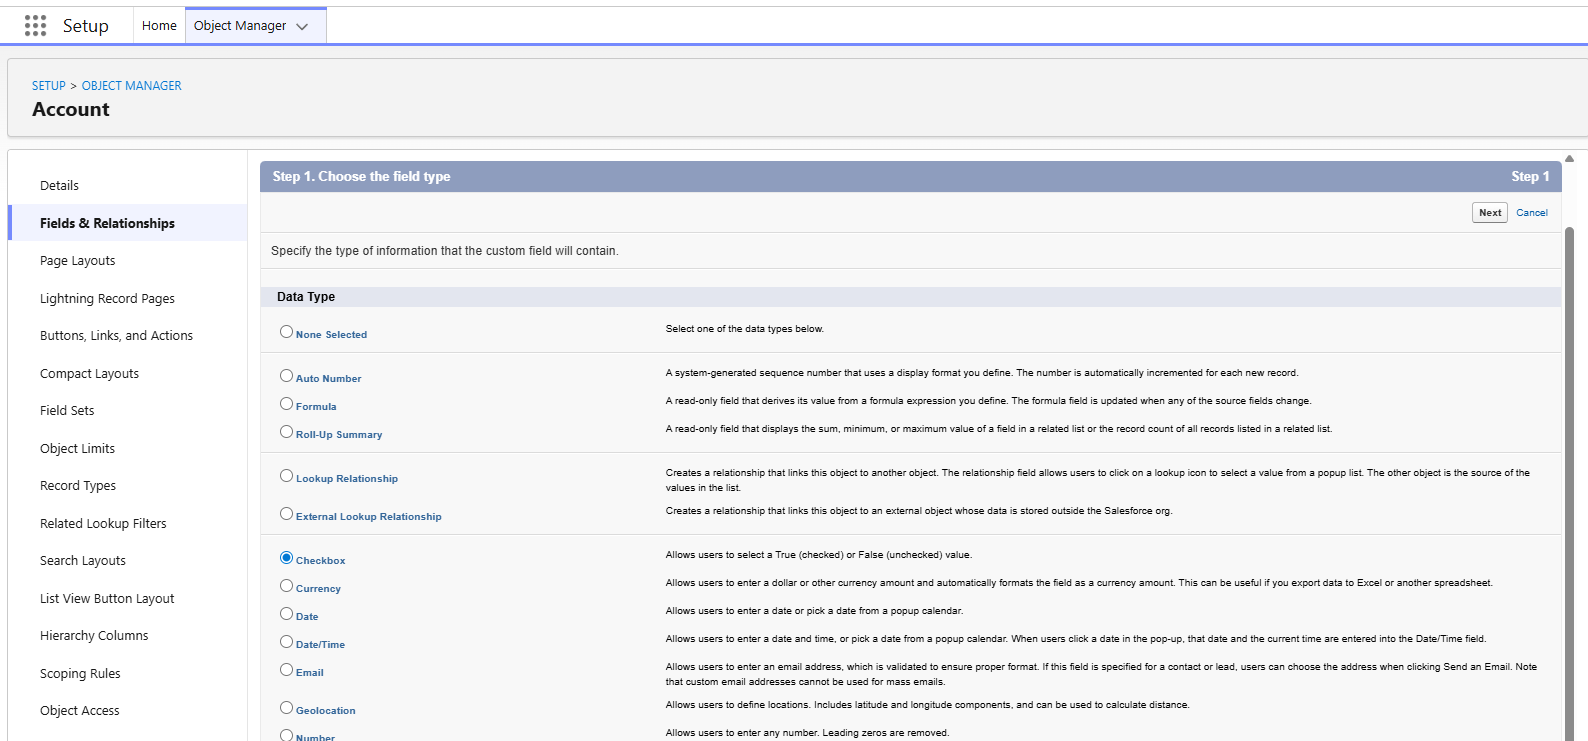
- Account 객체에 Match Billing Address 필드 추가하기
- trigger 작성
trigger AccountAddressTrigger on Account (before insert, before update) {

    for(Account a : Trigger.new) {
        if (a.Match_Billing_Address__c == true) {
			a.ShippingPostalCode = a.BillingPostalCode;
        }
    }

}